Written by Microscopehunt Authority
.

Microscopes are powerful tools that let us explore the tiny details of the world around us. To make the most of your microscope, it’s important to know how to prepare microscope slides properly.In this guide, we’ll outline the key steps for preparing slides, including the overview of microscope slides and different staining techniques.
What Are Microscope Slides?
Microscope slides are thin, generally measuring about 1 mm in thickness. They are designed to hold small specimens for observation under a microscope. These slides make it easy to mount, store, and transport samples, allowing scientists and enthusiasts to study a variety of materials, from plant cells to tiny organisms.
What is microscope slide preparation, and why is it important?
Microscope slide preparation is the process of mounting specimens onto slides so you can observe them clearly. Proper preparation is crucial because it enhances the visibility of your samples, making them easier to study under high magnification. While you can buy pre-prepared slides, preparing your own allows you to explore a wider range of specimens that interest you.
How Do You Prepare a Dry Mount?

A dry mount is one of the simplest ways to prepare a microscope slide.This technique works well for solid specimens like hair, feathers, or dried sections of plants.
Here’s how to do it –
Gather Your Materials:
You’ll need a clean, dry microscope slide, and your specimen.
Position the Specimen:
Carefully place the specimen directly onto the slide. If it’s larger, you may need to cut it into smaller pieces.
Add a Cover Slip (Optional):
If you want, you can place a cover slip over the specimen. This keeps the specimen secure and prevents it from coming into contact with the microscope lens.
Dry mounts are quick and easy but may not provide the best image quality since specimens are not suspended in a liquid medium.
How Do You Prepare a Wet Mount?

For observing living organisms or specimens in liquid, a wet mount is the best choice. This method is ideal for samples like pond water or blood. Here’s how to prepare a wet mount:
Prepare Your Materials:
You will need a clean slide, a sterile pipette, and a cover slip.
Add Liquid:
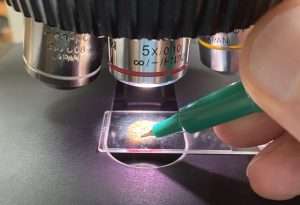
Use the pipette to place a drop of distilled water or another liquid onto the center of the slide.
Add the Specimen:
Position your specimen within the drop of liquid.
Lower the Cover Slip: Hold the cover slip at a 45-degree angle and gently lower it onto the specimen. This technique helps reduce air bubbles.
Wet mounts allow you to observe living specimens in their natural environment, making them a popular choice for biology students and researchers.
How Do You Prepare a Smear Mount?
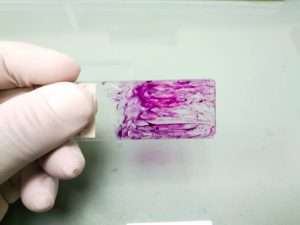
A smear mount is often used for samples like blood or bacterial cultures. This method spreads the specimen evenly across the slide for better observation. Here’s how to prepare a smear mount:
Gather Your Materials:
You’ll need a slide, a sterile pipette, and a sterile inoculation loop.
Transfer the sample:
Utilize a pipette to place a small drop of the specimen onto the slide.
Spread the Sample:
If you’re using a liquid culture, spread the drop into a thin layer using the inoculation loop. If you’re working with a solid culture, start by adding a drop of sterile water to the slide, then mix in a small sample from the culture.
Let It Dry:
Allow the smear to dry completely before proceeding to fixation, which helps the sample adhere to the slide.
Smear mounts are especially useful for examining blood cells and bacteria, providing clear images for analysis.
Do You Need to Stain Your Samples?
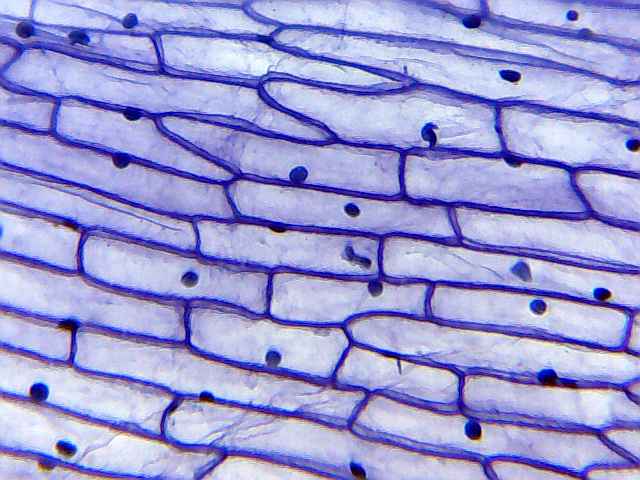
Staining is not always necessary, but it can significantly improve the visibility of your specimens. Stains enhance contrast, making it easier to see different features within the sample. This is especially important when studying living cells, where certain structures may be transparent.
What Are Commonly Used Staining Media?
Various staining media can be used depending on what you want to observe. Some common stains include:
Iodine:
Stains carbohydrates in plant and animal cells, turning dark blue when starch is present.
Methylene Blue:
Useful for animal cells and bacteria, this stain highlights nuclei and other acidic parts in blue.
Crystal Violet:
Often used in Gram staining to classify bacteria; it stains them purple.
Eosin Y:
Stains cell membranes and cytoplasm red or pink, useful for both plant and animal specimens.
Toluidene Blue:
Used to visualize mitosis in plant cells by staining nuclei dark blue.
Choosing the right stain depends on the specific characteristics of the specimen you wish to highlight.
How Do You Stain Bacterial Samples with a Methylene Blue Stain?
Staining bacterial samples with methylene blue is straightforward. Here’s a simple method to follow:
Prepare a Smear:
Start by preparing a smear mount of your bacterial sample on a slide.
Apply the Stain:
Using a sterile pipette, gently cover the slide with the methylene blue solution.Let it sit for about 1 to 3 minutes.
Clean the Slide:
Carefully wash the slide with distilled water to eliminate any leftover stains.
Blot Dry:
Place the slide between two pieces of blotting paper to remove any remaining water. Allow it to air dry completely.
After staining, the bacterial structures should appear blue, allowing you to observe their morphology more clearly.
How to Prepare Microscope Slides : Conclusion
Preparing microscope slides may seem daunting at first, but with practice, it becomes a straightforward process. Understanding how to create dry, wet, and smear mounts, along with the option to stain your samples, opens up a world of microscopic exploration. Whether you’re a student, a hobbyist, or a seasoned researcher, mastering slide preparation will enhance your microscopy experience. So gather your materials and start preparing your own slides today!
